Day-to-dusk photo editing is a powerful technique that allows photographers to transform their images from bright daylight to the mysterious allure of twilight. Whether you are enhancing outdoor shots or creating artistic landscapes, mastering this editing process involves a series of thoughtful adjustments. In this blog, we will walk you through the steps needed to achieve stunning transitions from day to dusk, while ensuring your photos retain their natural beauty and detail.
Understanding the Basics of day-to-dusk Editing
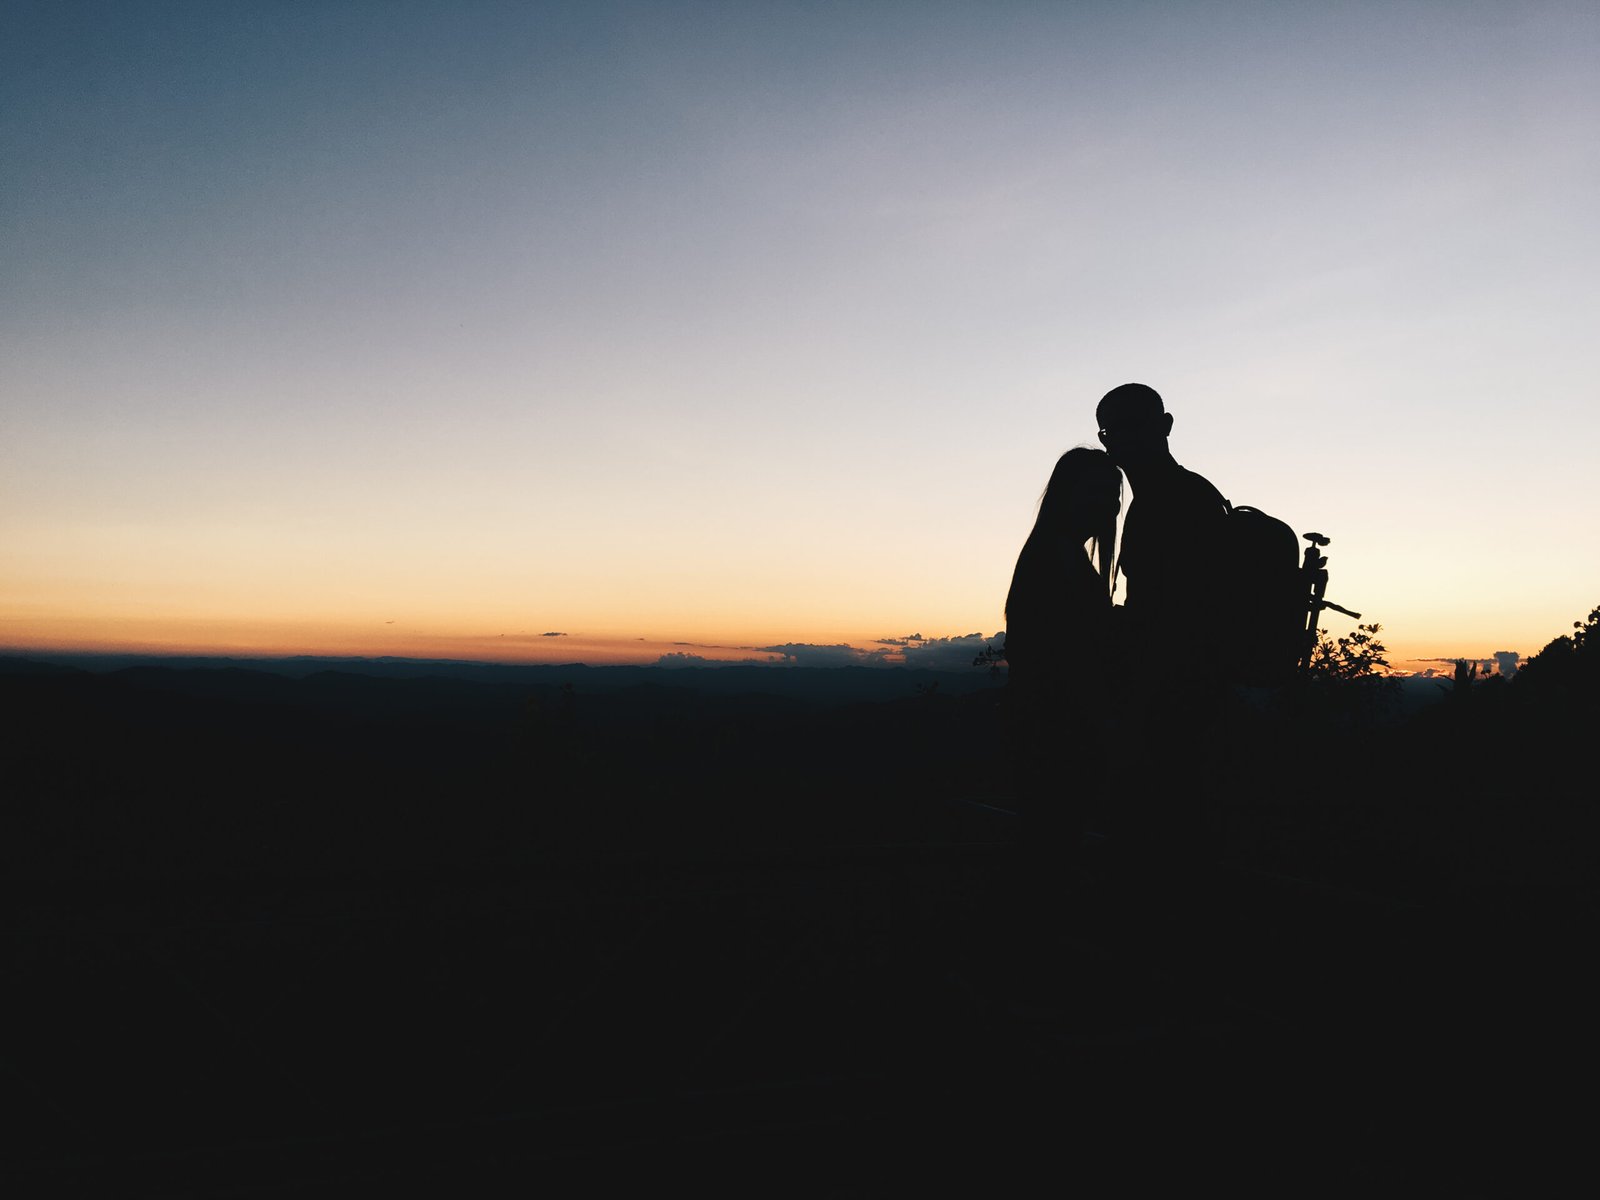
Before diving into advanced editing techniques, it’s important to understand the basic concept of day-to-day photography. This editing style aims to simulate the transition of time, shifting from the bright and vibrant hues of daytime to the soft, dramatic tones of dusk or evening. This process typically involves adjusting light, shadows, and colors to achieve the desired effect. It’s crucial to understand how natural light behaves during these times of the day to better replicate it in your edits.
Step-by-Step Guide to Day-to-Dusk Photo Editing
1. Adjust the Exposure and Contrast
The first step in transforming a daytime photo into a dusk scene is to adjust the exposure. Lowering the exposure slightly can help simulate the fading light as the sun sets. At the same time, increase the contrast to bring out the richness of the colors in the shadows, which will give your image a more dramatic feel. This step is essential for creating depth and visual interest.
2. Modify the White Balance
Daylight photos often have a cooler, more neutral color balance. To create the warm, golden glow of dusk, adjust the white balance. A slight shift towards warmer tones will help create the illusion of sunset light. Play with the temperature settings until you achieve a natural-looking, warm atmosphere in your image. Avoid overdoing the warmth, as it can make the photo appear unnatural.
3. Enhance the Sky and Background
In a day-to-day edit, the sky plays a significant role in setting the mood. To achieve a more dramatic sunset or twilight effect, you can use gradient filters or brush tools to adjust the colors in the sky. Darken the upper parts of the image to create a natural gradient from light to dark, while simultaneously boosting the vibrancy of the sunset colors. Adding or enhancing clouds can also improve the overall effect, making the sky appear more dynamic.
4. Create the Glow Effect
One of the most important aspects of a day-to-dusk transition is the soft glow that often appears as the sun sets. You can simulate this glow by increasing the saturation of specific colors, such as orange, yellow, or pink, in the image. You can also apply a subtle vignette to focus attention on the central subject while allowing the edges to fade into darkness. To add a more ethereal feel, consider using a soft brush to highlight areas of your photo where light would naturally hit.
5. Fine-tune Shadows and Highlights
After adjusting the exposure and white balance, the next step is to refine the shadows and highlights. During the evening, shadows become deeper and more pronounced. Enhance this by deepening the shadows in your image, which will add more contrast and create a more moody feel. On the other hand, you can selectively brighten areas that would catch the last remnants of sunlight. This subtle adjustment brings balance to the photo, ensuring it doesn’t appear too dark or overly bright.
6. Experiment with Filters and Presets
If you’re short on time or prefer a more streamlined approach, you can use filters or presets designed for day-to-day edits. Many photo editing programs, including Lightroom and Photoshop, offer filters that simulate the colors and lighting of sunset or dusk. However, always make sure to tweak the filter to suit the unique characteristics of your photo, as over-relying on a preset might result in a less personalized image.
7. Add Final Touches and Adjust Details
The final step in your day-to-dusk edit is to review your image and make any additional adjustments. This might include sharpening the image, adjusting the clarity to ensure details pop, or selectively enhancing areas that need more focus. Take the time to ensure that all aspects of the image, from the foreground to the background, blend seamlessly to create a cohesive transition from day to dusk.
Common Mistakes to Avoid
While editing day-to-dusk photos can be exciting, there are a few common pitfalls to watch out for:
- Over-saturating colors: Adding too much warmth or saturation can make the photo look artificial. Strive for subtlety in your adjustments to maintain a natural appearance.
- Ignoring composition: Even though the editing focuses on light and color, don’t forget about the importance of composition. Ensure your subject is well-placed and balanced.
- Lack of contrast: Without proper contrast, your image can look flat. Enhance the differences between light and dark areas to achieve a more dramatic effect.
Conclusion
Mastering day-to-dusk photo editing takes practice, but with the right techniques, you can create stunning images that capture the magic of this transition. By adjusting exposure, white balance, and shadows, you can transform your photos into dramatic, atmospheric shots that evoke the beauty of a sunset or evening light. Experiment with different editing tools, fine-tune your images, and most importantly, enjoy the creative process!