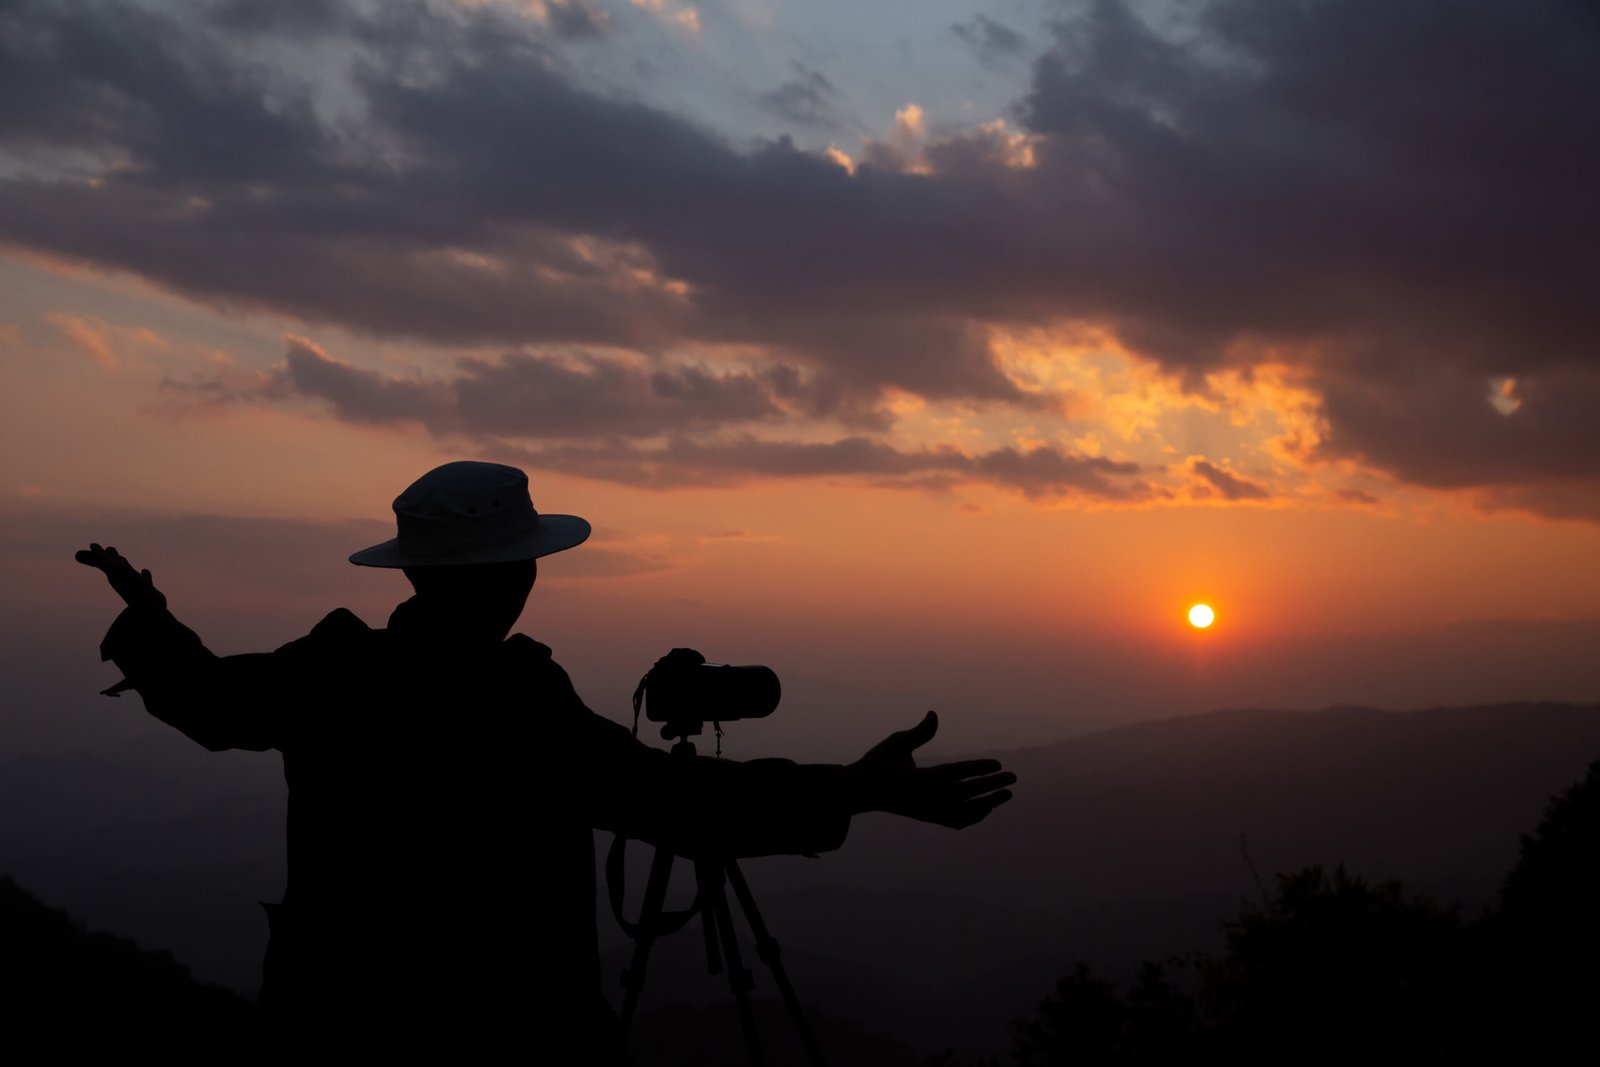
In the realm of digital photography, transforming an ordinary daytime image into a stunning dusk scene can elevate the visual impact of any photograph. Whether you’re a real estate photographer aiming to enhance a property’s appeal or a digital artist exploring creative boundaries, mastering day-to-dusk photo editing is a valuable skill that brings depth, mood, and a cinematic touch to your visuals. This guide explores how this technique works, its benefits, and how you can achieve it with precision and artistic finesse.
Understanding the Magic of Dusk Transformation
Day to dusk photo editing involves digitally altering a daytime photo to mimic the warm, soft lighting of the evening or twilight hours. The result is often more appealing and atmospheric than the original shot. With the sun setting, shadows stretch longer, and the sky takes on beautiful gradients of orange, purple, and deep blue. Artificial lights, such as those from windows, street lamps, and vehicles, become more pronounced, giving the image a cozy, inviting vibe.
This editing technique is particularly popular in real estate photography. Properties presented in a dusk setting are often perceived as more luxurious and emotionally engaging. The soft lighting not only creates a romantic ambiance but also highlights architectural features in a more flattering manner.
Why Choose Day to Dusk Photo Editing for Visual Impact
The choice to apply day to dusk photo editing isn’t just a stylistic one—it’s strategic. Dusk photos consistently outperform their daylight counterparts in terms of viewer engagement, click-through rates, and visual appeal. Especially in real estate listings, a professionally edited dusk image can lead to quicker inquiries and even higher selling prices.
One of the main advantages is that it removes the constraints of timing your photoshoot to catch the perfect natural light. Instead of scheduling a shoot at the unpredictable “golden hour,” photographers can shoot in consistent daylight and then replicate the dusk mood in post-production.
Moreover, the twilight atmosphere adds emotional weight to the image. The subtle glow of interior lighting, a soft pink-blue sky, and illuminated exteriors create a sense of warmth and welcome that draws viewers in. For clients or viewers who are not physically present, such an image helps them imagine themselves in that space, whether it’s a home, a commercial building, or a lifestyle scene.
Step-by-Step Approach to Achieve Dusk Effects
Creating a convincing day-to-dusk image involves more than simply darkening the picture or applying a preset. Here’s a basic workflow that professionals follow to achieve optimal results:
- Select the Right Image: Choose a high-resolution image taken during the day, ideally with balanced exposure and minimal harsh shadows. Overexposed or low-quality photos will reduce the effectiveness of your edits.
- Adjust White Balance and Exposure: Start by warming up the tones. Shift the white balance toward the yellow-red spectrum to mimic the setting sun. Lower the overall exposure slightly to introduce a dusk-like dimness.
- Transform the Sky: Replace the bright daytime sky with a gradient or photo of a twilight sky. This adds instant mood. Make sure the new sky matches the perspective and light direction of the original photo.
- Light Up Windows and Exteriors: Add soft yellow or warm glows to windows, light fixtures, and other elements like lamps or exterior bulbs. This gives the photo that “lights just came on” feeling typical of dusk hours.
- Enhance Shadows and Highlights: Adjust shadows to be softer and more stretched out. Enhance the highlights selectively to guide the viewer’s attention to key architectural or focal points.
- Final Touches: Apply subtle vignettes, color grading, and sharpness as needed. The goal is realism with atmosphere, not oversaturation or cartoonish contrasts.
Tips for Better Day-to-Dusk Editing Results
To truly excel in this technique, consistency and realism are key. Always ensure the light sources in your dusk scene correspond with actual fixtures in the image. Avoid over-editing; a common pitfall is making the sky too dramatic or the lighting too intense, which can make the photo look unnatural.
Using advanced software like Adobe Photoshop, Lightroom, or Luminar can offer granular control, especially for sky replacement and light effects. For those working with large batches of images, consider creating your own presets or using automation tools, though always review each image for fine-tuning.
Conclusion
Day-to-dusk photo editing is not only a visually compelling technique but also a practical solution to enhance any image’s marketability and mood. It’s a perfect example of how digital tools can bridge the gap between natural photography and creative storytelling. With patience, practice, and attention to detail, photographers at any level can learn to master this transformation and create images that stand out, no matter the time of day they were originally taken.


