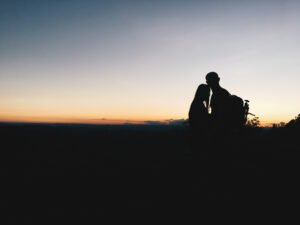
When it comes to photography, capturing the essence of time through an image can add layers of storytelling and emotion. One way photographers express this concept is through day-to-day photo editing. This technique allows you to transition a bright, sunny image into a more dramatic, dusk-inspired scene, blending the warmth of daylight with the cool tones of the evening. The process involves adjusting various aspects of the photograph to mimic the gradual fading of sunlight into the night. Mastering day-to-dusk photo editing techniques can result in images that feel cinematic and emotionally evocative, even if they were taken during the day.
Understanding the Basics of Day-to-Dusk Photo Editing
Day-to-dusk photo editing refers to the process of transforming a photograph taken in the day into one that visually suggests the transition toward dusk. The goal is to create a scene where the light appears to gradually shift from daylight’s warmth into the cool, softer hues of twilight. This requires manipulating several factors in your photo: lighting, color tones, shadows, and highlights. By adjusting these elements, the photo can take on an entirely different atmosphere.
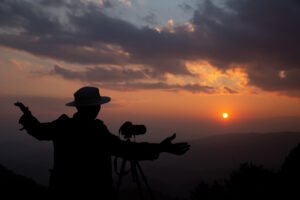
One of the most important aspects of day-to-day editing is the lighting. Dusk has a distinct quality of light, with longer shadows, less intensity, and more saturated, cooler colors. Therefore, you should adjust the exposure to tone down the brightness of the image. This makes the image feel as though the sun is dipping below the horizon. You may want to lower the highlights in the photograph to capture the subtle light patterns typical of dusk. If your photo was taken on a clear, bright day, it will be necessary to reduce the whites and increase the shadows for a more balanced look.
Adjusting Colors for the Day-to-Dusk Effect
Another key element of day-to-dusk photo editing is altering the color temperature and hues in the image. During the daytime, photos tend to have warmer tones—yellows, oranges, and reds that capture the intensity of the sun. However, as you transition to dusk, cooler tones such as blues, purples, and greens start to emerge. To mimic this, you should adjust the temperature and tint of the image. Begin by shifting the temperature slider to the cooler end of the spectrum to give the photo that signature evening feel.
Utilizing Shadows and Highlights in Day-to-Dusk Photo Editing
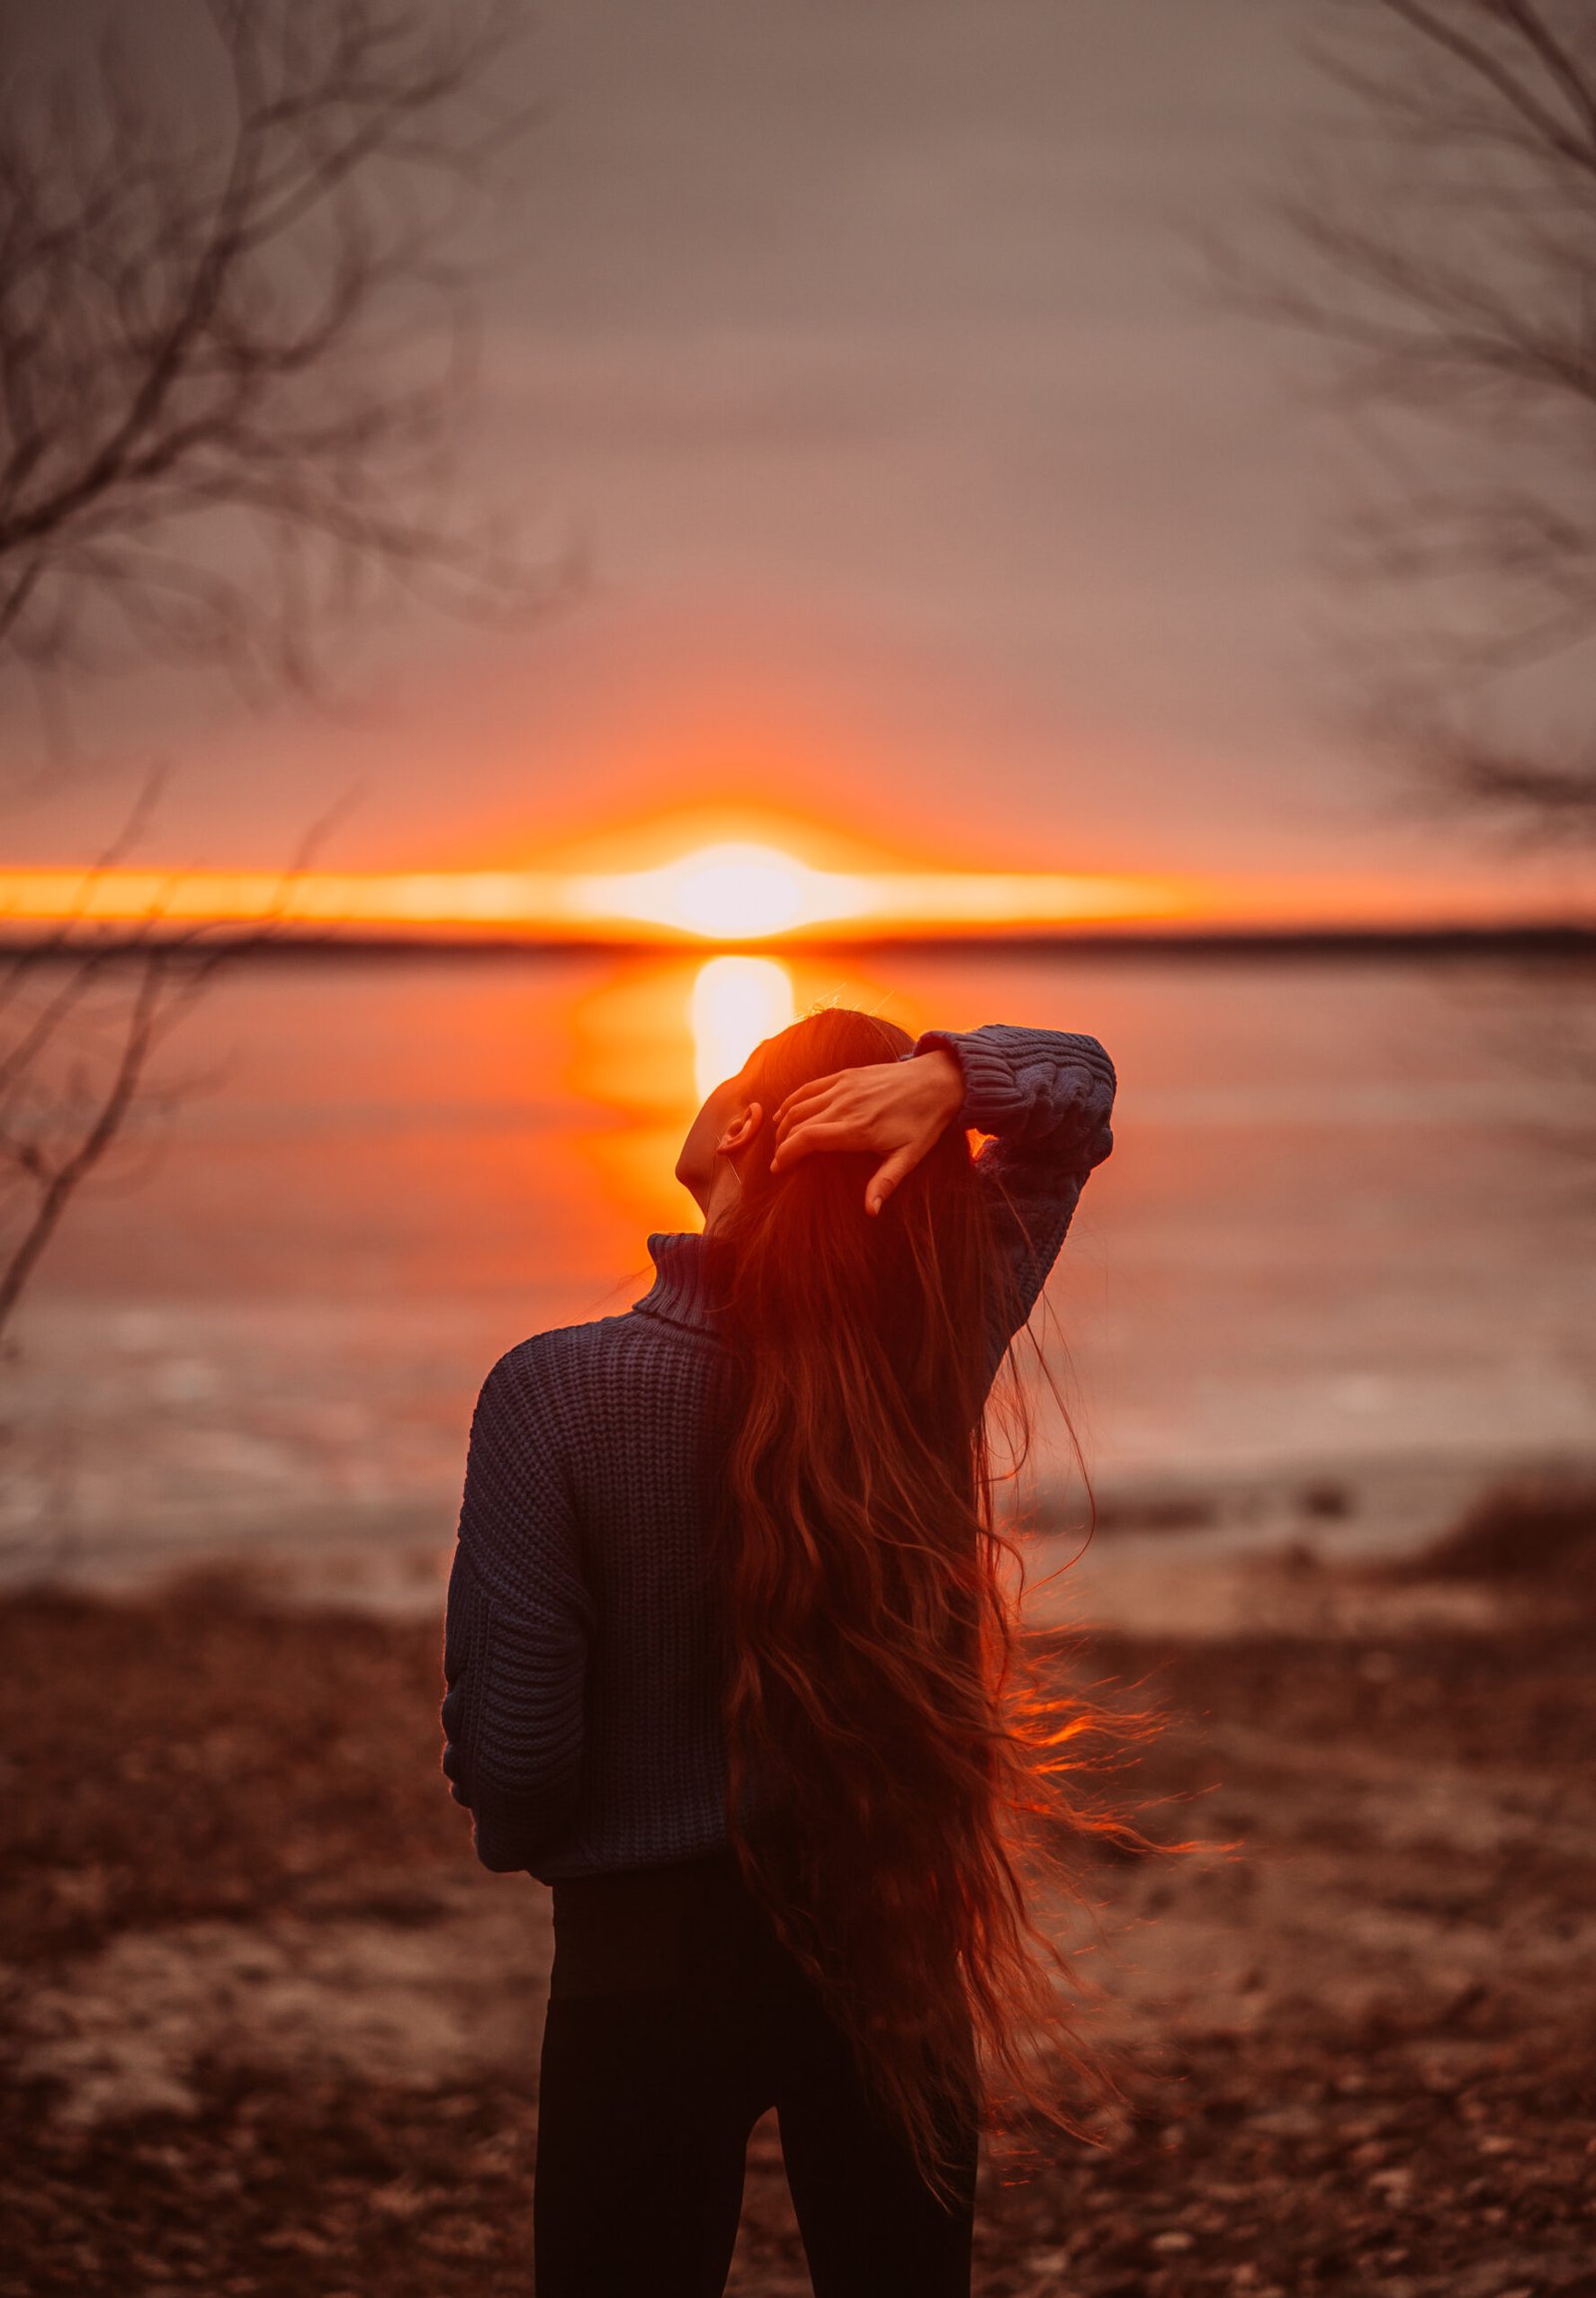
In any photo editing process, working with shadows and highlights is crucial to set the mood of the scene. In day-to-dusk editing, these adjustments play an essential role in creating depth and richness in your image. During daylight, shadows are often softer and less pronounced, while dusk introduces more dramatic shadows. To achieve a dusk feel, enhance the shadows in your photo by darkening areas that would naturally be covered in evening light. This could include the ground, trees, or buildings.
Similarly, you should bring down the intensity of highlights that are typically seen under bright sunlight. Reducing highlights will allow the image to have a softer and more even exposure, which closely resembles the waning daylight during the dusk hours. By manipulating the highlights and shadows, you can add a sense of depth and dimension that makes the transition from day to night feel seamless and believable.
Adding Final Touches for a Cinematic Day-to-Dusk Feel
Once the core adjustments—like exposure, colors, and shadows—have been made, it’s time to fine-tune the finer details of your photo. To enhance the mood of the scene, you can add a slight vignette effect to the edges of the photo, drawing the viewer’s focus toward the center. This effect can be particularly effective in photos with dramatic skies, as it enhances the overall mood and adds a cinematic quality to the image.
Additionally, consider adjusting the contrast slightly. A bit of extra contrast between the highlights and shadows can give the image a more vivid and striking look, which is especially effective in day-to-day editing. Don’t forget to check the saturation and vibrancy levels—sometimes reducing the saturation in certain areas of the image can help achieve a more natural transition from the sunlit daytime to the cooler evening.
Conclusion
mastering day-to-dusk photo editing is about creating a seamless transition between the vibrant energy of the day and the calm, cool hues of the evening. By carefully adjusting lighting, shadows, highlights, and colors, you can craft images that feel as though they capture the essence of twilight—bringing drama, warmth, and cool serenity into a single frame. The beauty of this technique lies in its versatility, allowing photographers to transform even the most ordinary daytime shots into stunning, atmospheric dusk scenes.